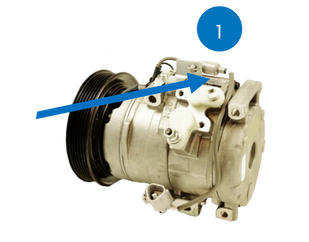
How to remove and install bottom speed
sensor switch on compressor
Tools needed: 7 mm socket and ratchet
|
1. Locate wiring harness on compressor that came off vehicle. Disconnect/ unplug wire going to clutch.
|
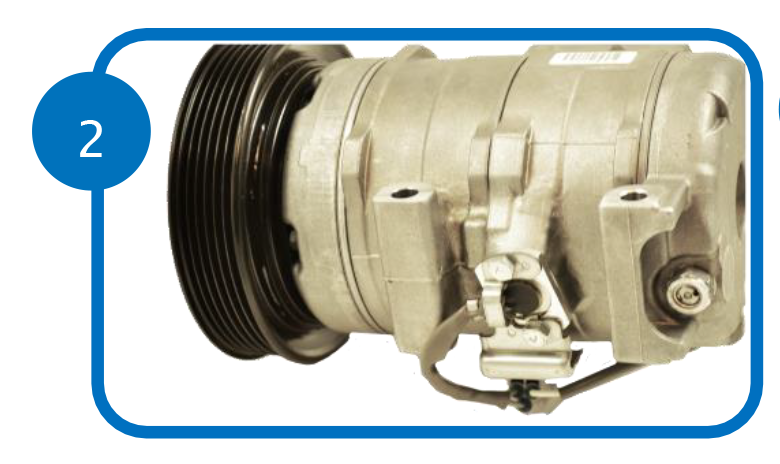
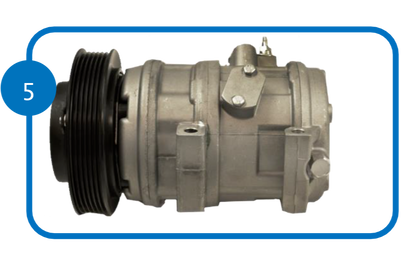
2. Locate Switch on bottom of the compressor that came off the vehicle.
|
|
|
|
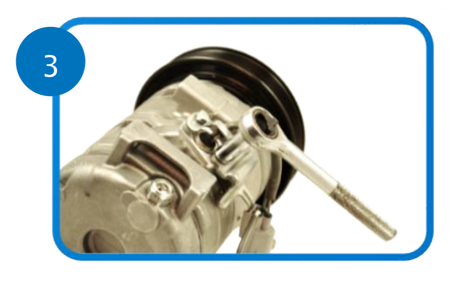
3. Remove 2 x 7 mm bolts on switch
|
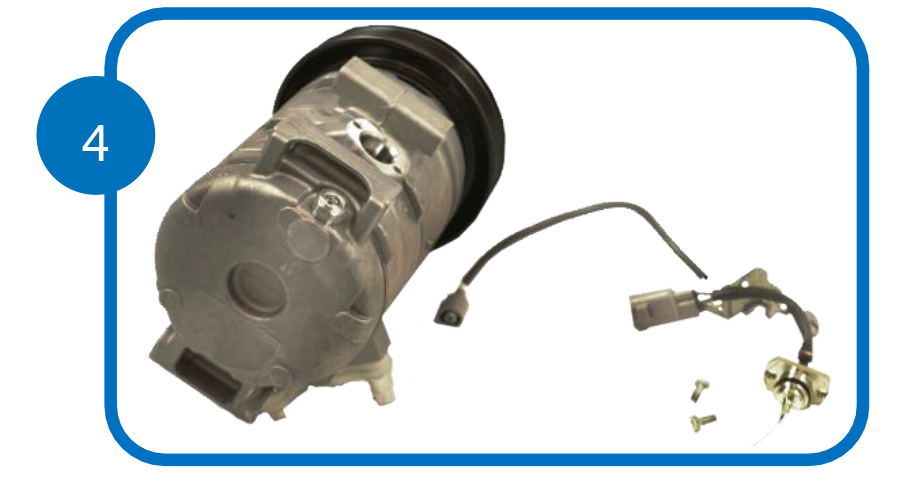
4. Remove switch from compressor that came off the vehicle.
|
|
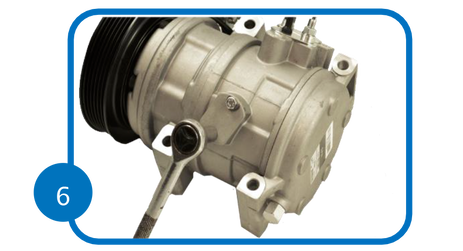
5. Locate switch cover on bottom of gpd compressor. Slightly loosen the discharge port on the gpd compressor to release any pressure before removing the switch plate and blank. Retighten the port cover to insure no oil is lost from compressor.
|
6. Remove cover with 2 x 7mm bolts
|
|
7. Remove blank cover inside

|
8. Place switch inside gpd compressor and tighten 2 x 7mm bolts.
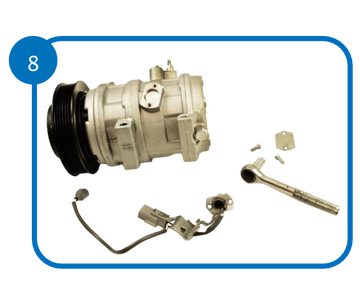
9. Place electrical connector on bracket.
|
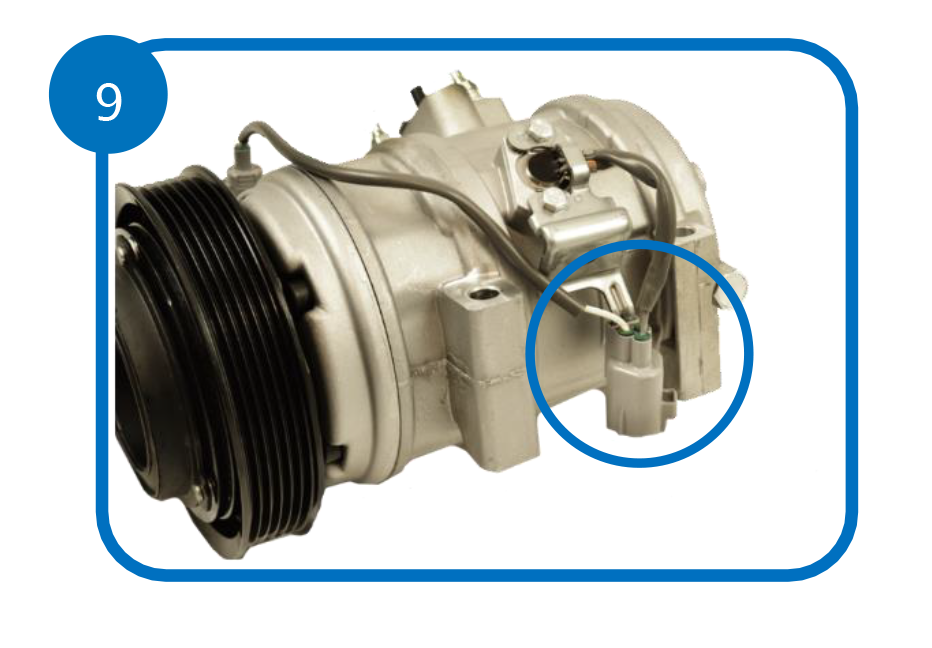
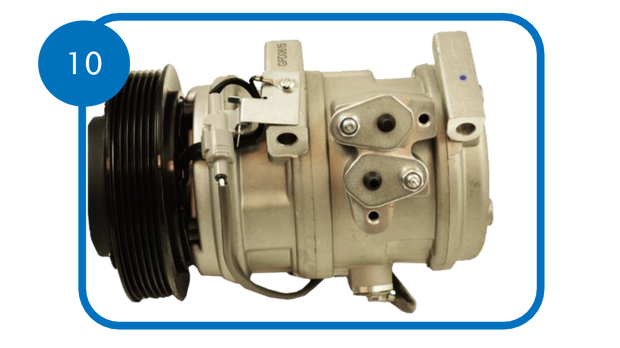
10. Connect switch electrical connector to gpd compressor.

|

|
Click "Download File" for the PDF version.
| gpd_tech_tip_40-compressor-install_remove_bottom_speed_sensor_switch-how_to.pdf |